OpenSource Blogging with Jekyll GitHub VSCode Part2
In Part 1 of this series I introduced you to open source blogging using some awesome tools and platforms available today. I also shared my own setup so you can see what’s involved end-to-end.
Shortly I’ll provide a detailed walkthrough of everything you need to get started with your own blog site.
- Part 1 - Why I’m using open source and an overview of my blog setup
- Part 2 - Getting started with a step-by-step guide
- Part 3 - Securing your Content and Going Live with GitHub Pages
- Part 4 - Tips & Tricks with Jekyll and Markdown editing
Local Blog Development
First we need to setup our local development environment for the blog site by installing a few dependencies.
At the time of writing I’m running a Surface Book 2 so these instructions are for the Windows 64-bit OS but can be modified to suit MacOS or Linux as needed. See https://jekyllrb.com/docs/installation/ for more Jekyll installation guides.
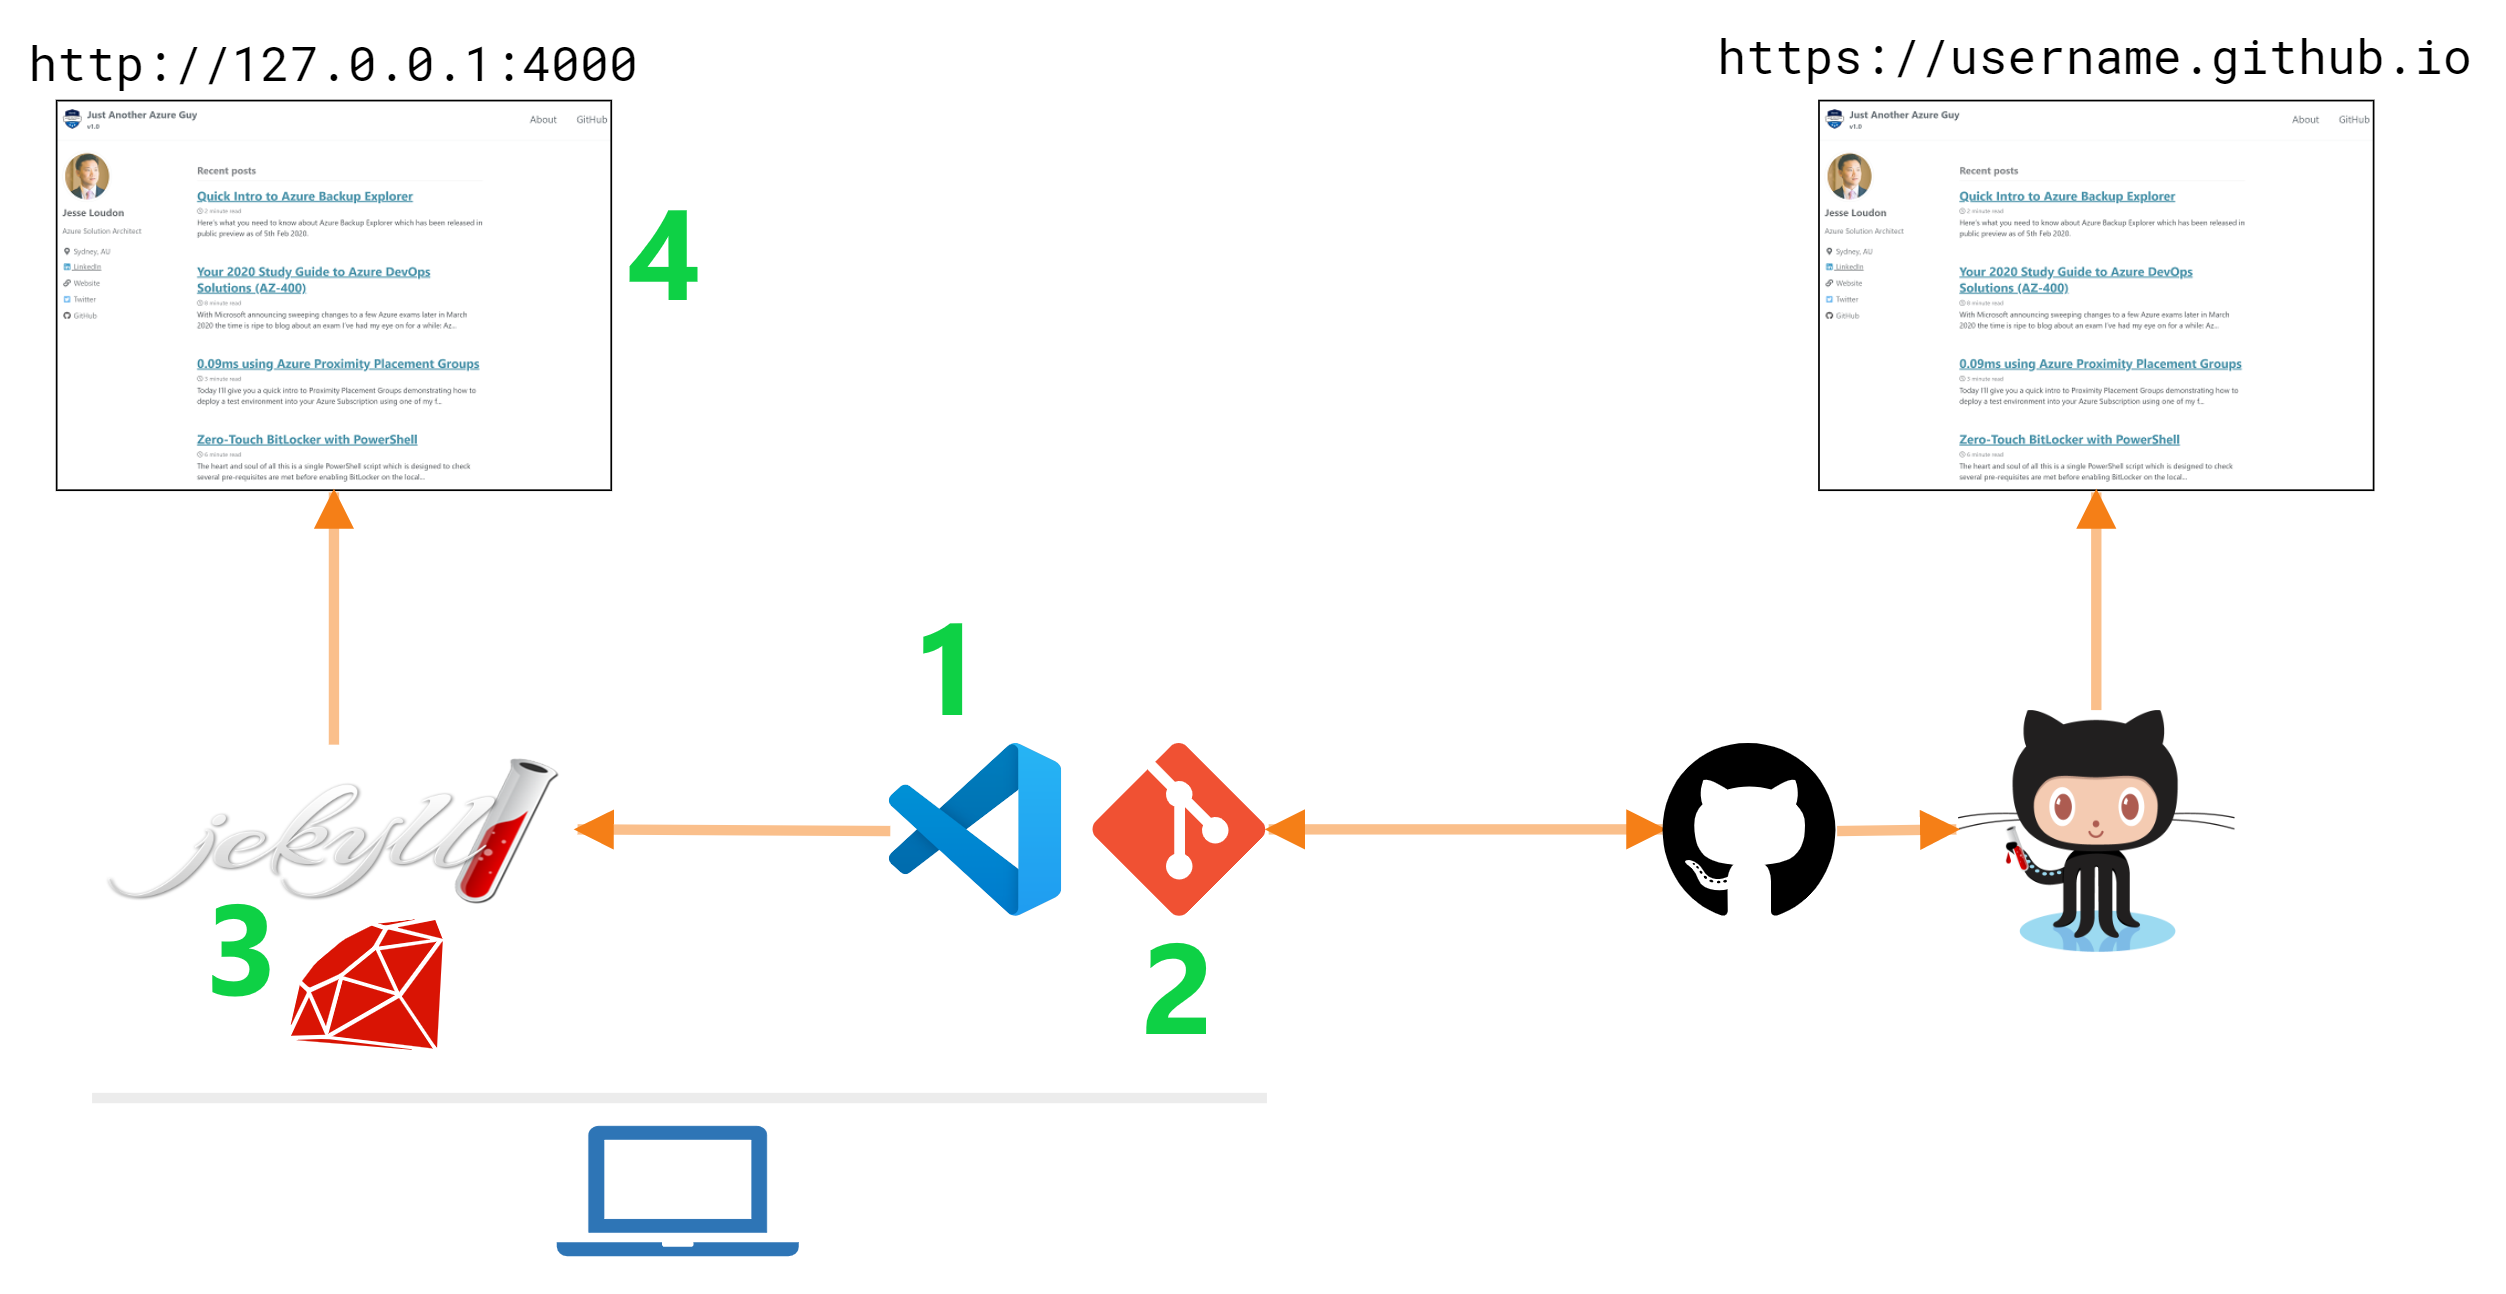
Coming Up…
- We’ll install VSCode
- We’ll install Git
- We’ll install Ruby and Jekyll
- We’ll clone a free remote Jekyll Theme to a local folder and preview the site
Already have Visual Studio Code or Git installed? –> Update to the latest release prior to continuing with this guide.
- VSCode - Go to
Help > Check for Updatesfrom your VSCode client to update to the latest release. - Git - Use
git updateorgit update-git-for-windowsfrom your Git client to update to the latest release.
Install Visual Studio Code
- Go to https://code.visualstudio.com/download
- Download & run the Windows (x64) installer ~ 57MB.
- Accept all defaults during the installation wizard. Nothing exciting here!
Install Git
- Make your way to https://git-scm.com/downloads
- Download & run the Windows (x64) installer ~ 44MB.
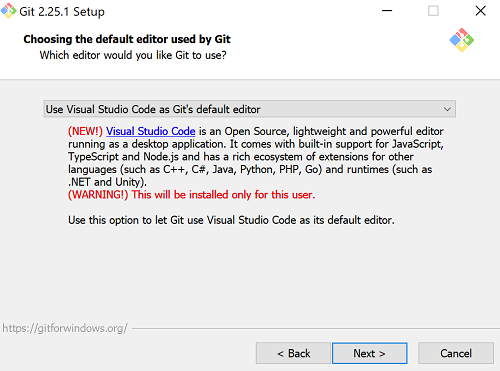
- During the install wizard - make sure to choose
Visual Studio Code as Git's default editorfrom the drop-down (shown below). - All other install defaults seem fine to leave as-is!
Install Jekyll / Ruby
- Head over to https://rubyinstaller.org/downloads/
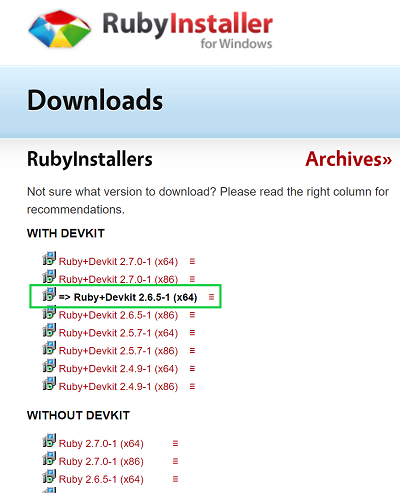
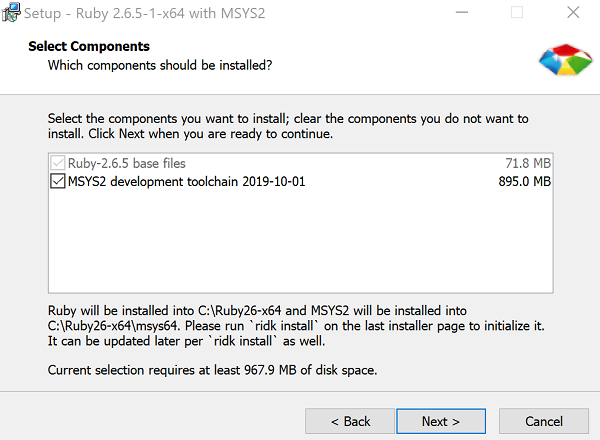
- Download & run the Ruby+Devkit 2.6.X (x64) installer ~ 132MB.
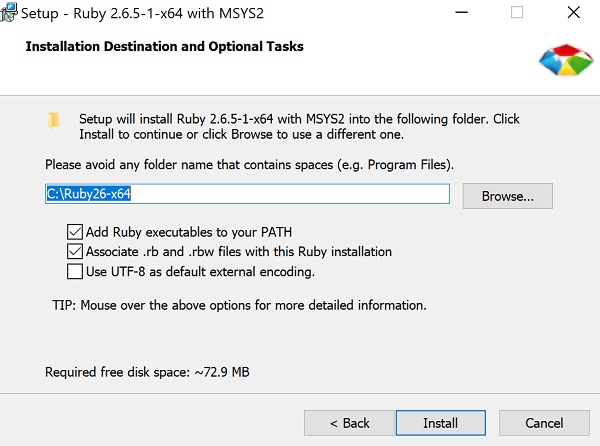
- During the install wizard accept all defaults.
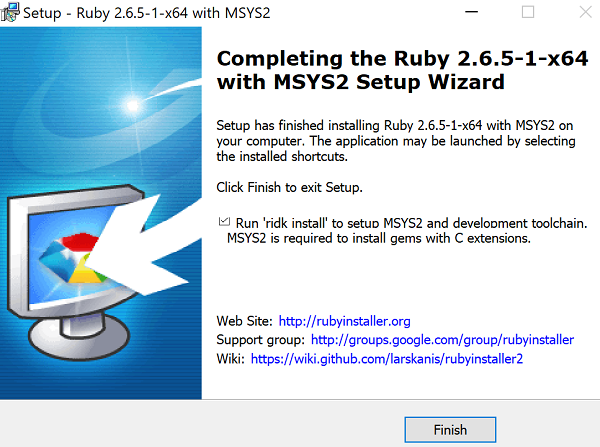
- Click
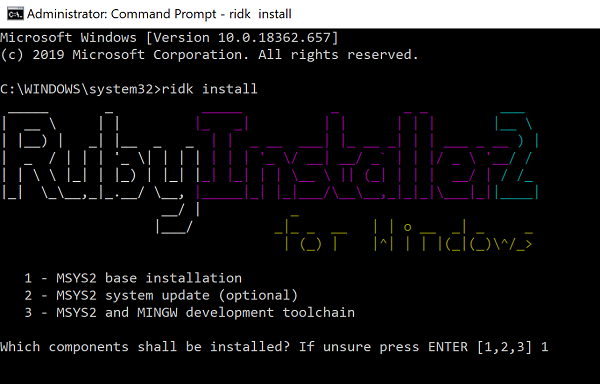
Finishat the completion of the install wizard. - After the install wizard a new cmd window will appear automatically and display 3x selections - Make sure to key in the number
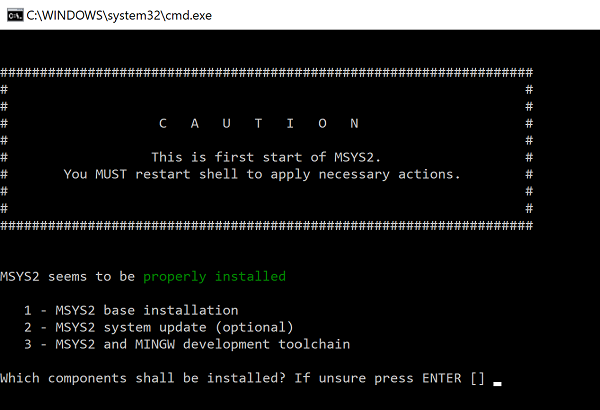
1before hittingenterto continue. - If all goes well you should see a screen saying MSYS2 is installed. Feel free to close it.
- Now that’s over, open your VSCode client & also a new Terminal ( ctrl+shift+` )
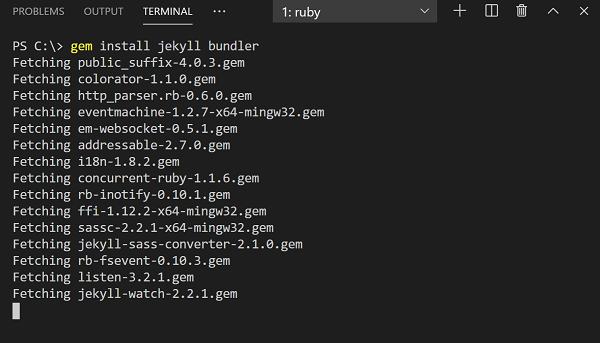
- Next we need to install the
JekyllandBundlerRubyGems with following cmdlet:$ gem install jekyll bundler - If you run into issues here try re-installing Ruby+Devkit starting from Step 2 above.

Cloning a remote Jekyll Theme
We want to be blogging today-ish, not next week or a month later. So let’s clone an existing remote Jekyll theme to our local dev environment. We can then modify it to suit our needs without reinventing the wheel!
At the time of writing I’m using the Minimal Mistakes theme by Michael Rose because it suits my needs & because of Michael’s helpful documentation available - for example check out https://mmistakes.github.io/minimal-mistakes/docs/quick-start-guide/
The quickest way to get started with the Minimal Mistakes theme is to git clone one of the following GitHub repositories.
Let’s look at how this works with the Remote Theme (1st from the list above)
Try executing the following cmdlets from a VSCode Terminal:
$ cd C:/
$ git clone https://github.com/mmistakes/mm-github-pages-starter
$ cd mm-github-pages-starter/
$ bundle exec jekyll serve
When running
bundle exec jekyll serve- if you’re seeing an error similar to ‘cannot load such file – webrick (LoadError)’ usebundle add webrickhttps://github.com/jekyll/jekyll/issues/8531
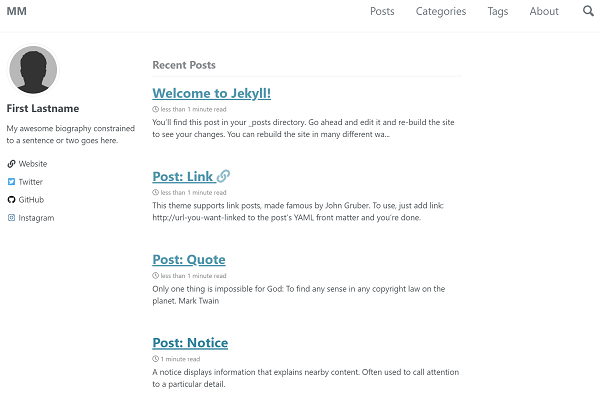
After a successful serve - browsing to http://localhost:4000 will display a home page like this:
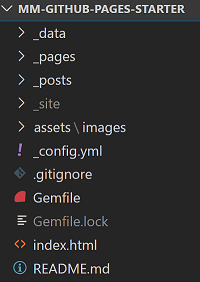
Open the newly created folder C:\mm-github-pages-starter from VSCode to access the following site structure.
Understanding Jekyll
Here’s a breakdown of what you see above. It’s important to understand this structure as the majority of your changes will happen here.
_data
- contains a .yml file which controls the site navigation links visible at the top of pages.
- modify the navigation.yml file as you add/remove pages to your site.
_pages
- contains .markdown files used by the site such as the 404 and About pages
- modify the existing pages in this folder or create new ones to suit your needs
_posts
- contains .markdown files that are published to the site as new posts
- place your new posts into this folder
_site
- where Jekyll has built and stored the site before publishing it locally
- you can ignore this folder
assets\images
- contains image files used by the site and pages/posts
- save your PNG/JPEG/BMP/GIF files into this folder and reference the path in your markdown for example
.
_config.yml
- the main configuration file that Jekyll references to build the site after you have used
bundle exec jekyll serve - modify this file first to update key properties/variables and then rerun a jekyll serve to see the changes locally
.gitignore
- contains files or folders that you do not want syncing via Git to your GitHub repository
- modify this file if you add a _drafts folder later on for posts that you don’t want sync’d into GitHub
Gemfile
- used to define RubyGems that are loaded for the site
- modify this file as needed for changes to plugins
Gemfile.lock
- a Jekyll autogenerated file that appears after you have used
bundle exec jekyll serve - you can ignore this file
index.html
- defines some YAML Front Matter for the site’s home page
- there’s no need to modify this file
README.md
- a helpful introduction to the Remote Theme written by the author Michael Rose
Next Steps
- Review and update
Config.yml. - Create a few blog posts into the
_postsfolder. - Add your own images into the
assets\imagesfolder and reference them into posts using. - Create your own
Aboutpage or update the existing_pages/About.md. - Run
bundle exec jekyll serveto see the results!
Recap
We’ve completed installation of our open source blogging dependencies to our local dev environment and cloned/served a Jekyll theme.
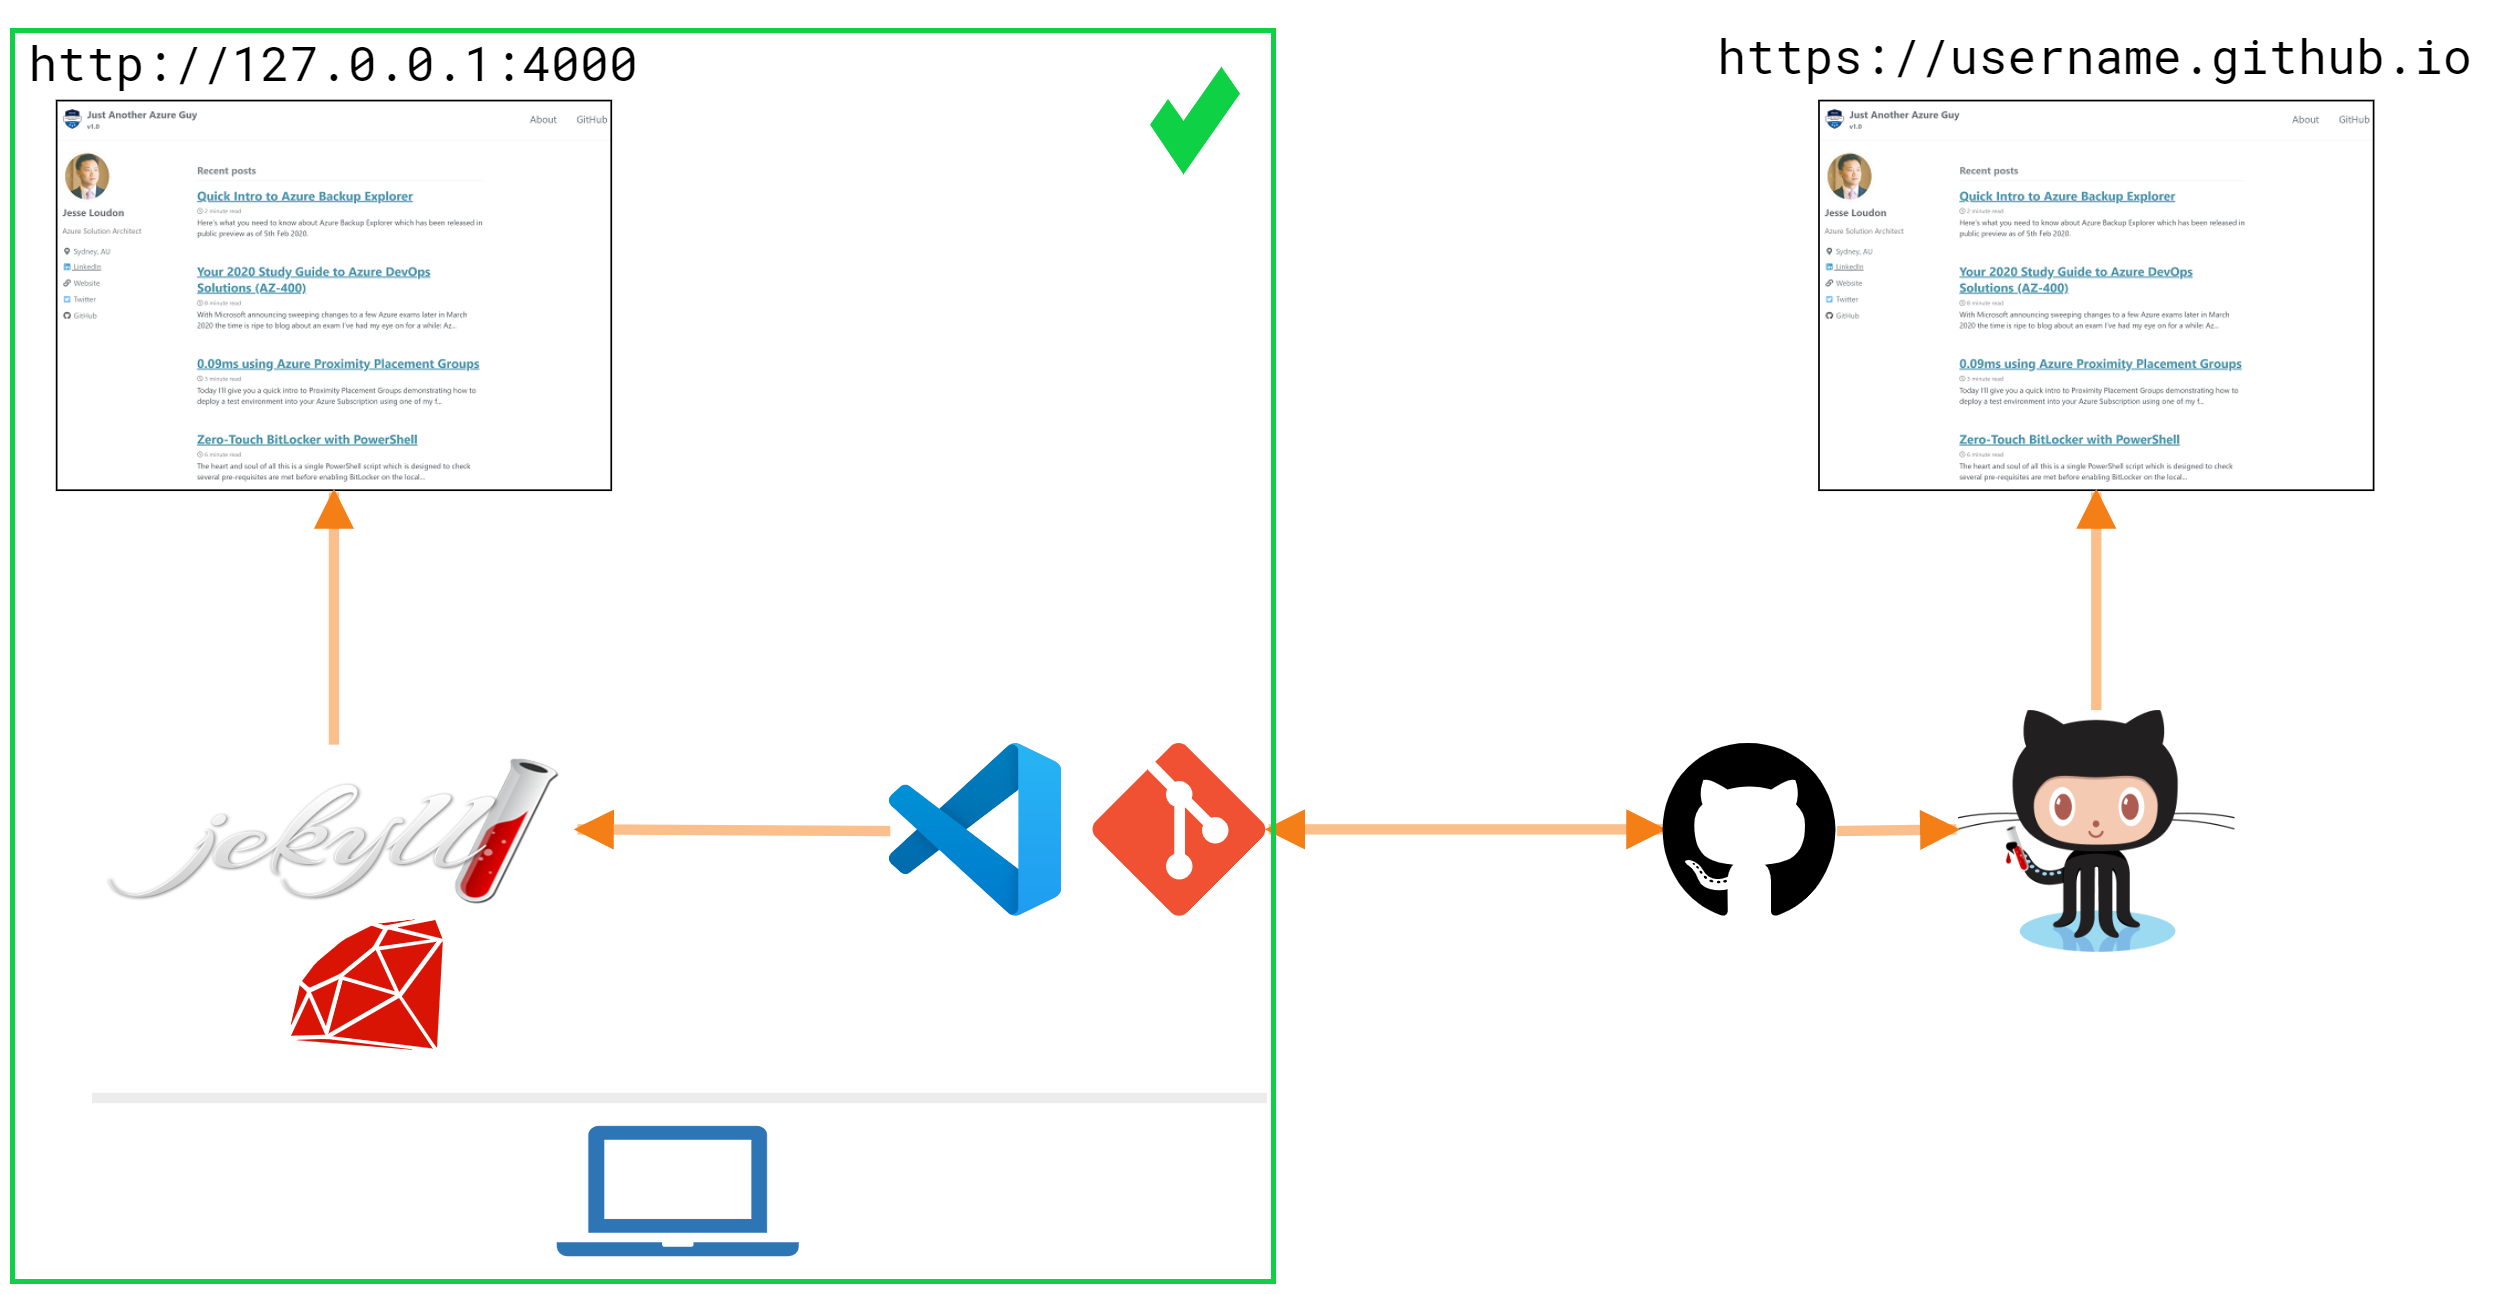
Congrats on getting this far! If you’ve followed this guide you should be armed with enough knowledge of Jekyll to be dangerous :-)
Join me for Part 3 of this series where we’ll look at taking your blog live with GitHub and GitHub Pages.
Cheers, Jesse


Leave a comment