Ansible on Azure Part 2
This is Part 2 of the Ansible on Azure series. In this blog you’ll discover how Terraform IaC can automate your Ansible control host deployment to Azure.
I’ll showcase the custom module terraform-azurerm-ansible-linux-vm and highlight some noteworthy items. Each new heading will cover a different resource type for easy reader consumption.
- Part 1 covers the birds-eye solution overview and introduces you to key components.
- Part 2 showcases the Terraform module used to automate deployment of an Ansible control host into Azure.
- Part 3 dives into using the Molecule-Azure driver to rapidly develop Ansible playbook tasks on Azure instances.
Finally, I’ll also provide a step-by-step example of using the module to deploy an Ansible control host into Azure.
Development Ecosystem Mapping
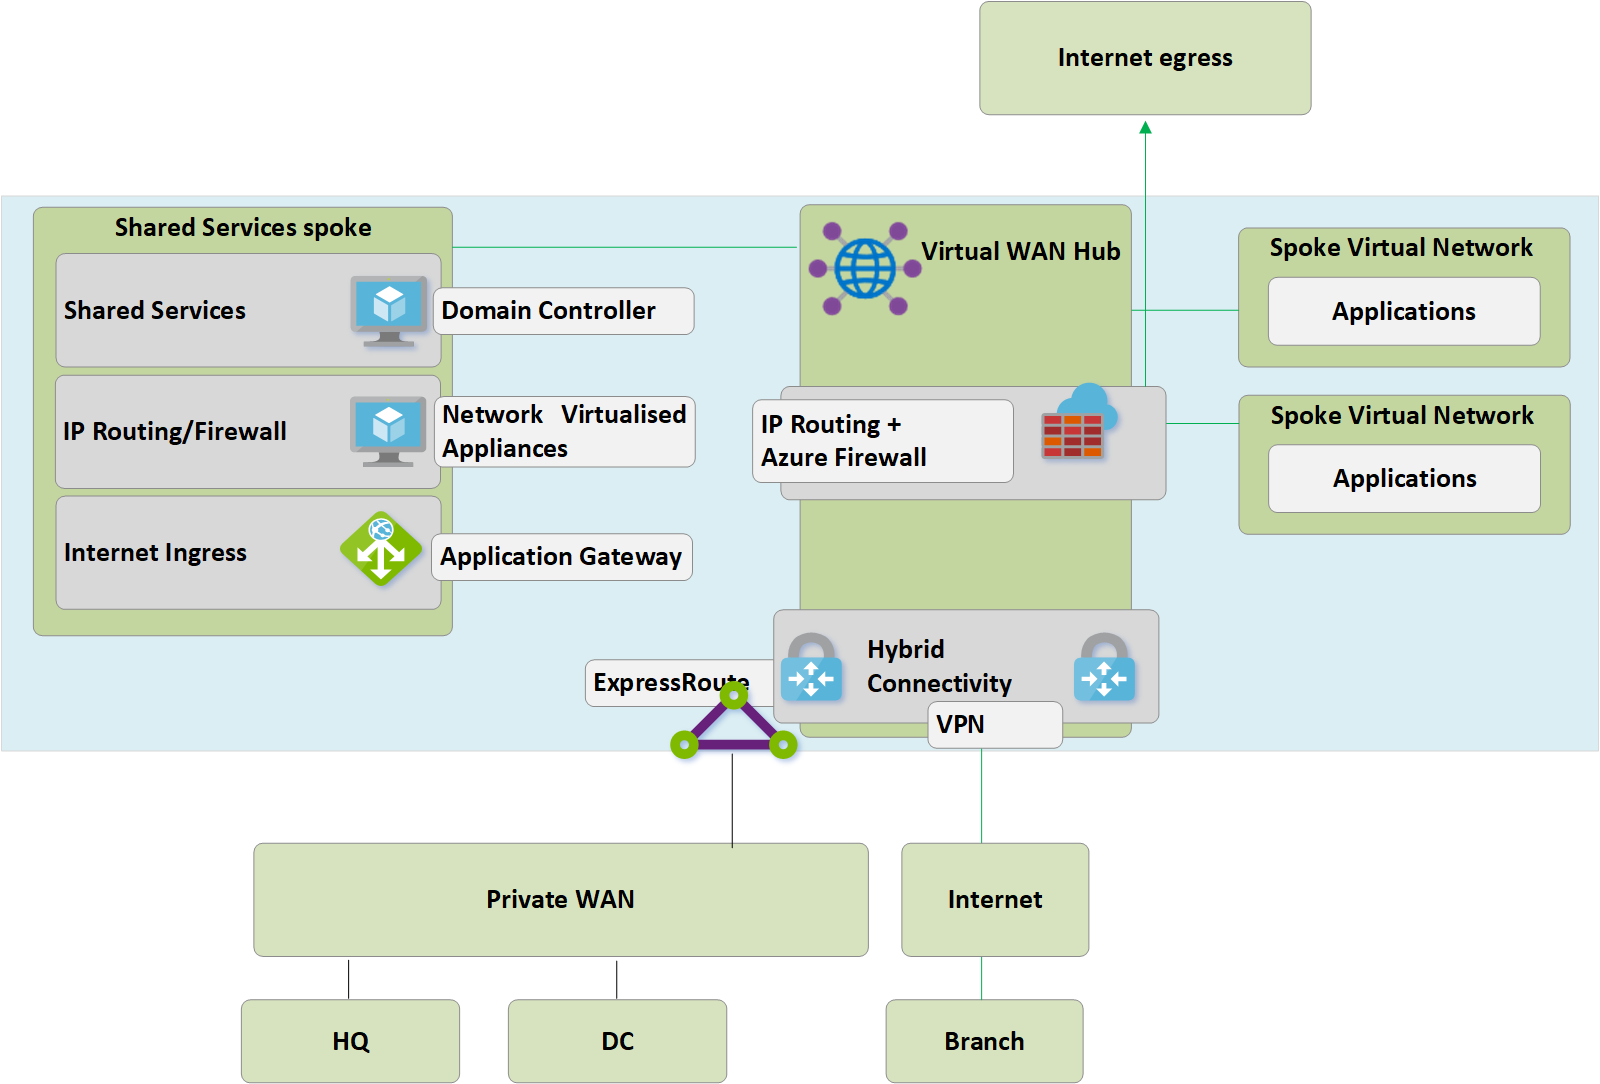
In terms of our development ecosystem described in Part 1, and shown below, this blog covers stages 1-3.

1 - Resource Group (RG)
- This new Resource Group will help isolate our new Ansible development environment and support a quick destroy later.
- I recommend appending your initials to new RG’s name e.g.
rgName = "ansibledev-yourinitials"to allow for easy identification later. - Here I’m also outputting the new RG’s name to the Terraform console. We’ll need to reference this value within our Molecule
create.ymlfile later in Part 3 of this series.
variable "rgName" {
  type        = string
  description = "resource group name w/ technician's initials as a suffix"
  default     = "ansibledev-yourinitials"
}

variable "rgLocation" {
  type        = string
  description = "resource group location"
  default     = "australiaeast"
}

resource "azurerm_resource_group" "rg1" {
  name     = var.rgName
  location = var.rgLocation
}

output "azurerm_resource_group_name" {
  value = azurerm_resource_group.rg1.name
}
2 - Virtual Network (VNET)
- This new VNET will be an isolated space and subnet for the Ansible control host and Molecule test instances to directly communicate over.
- I recommend appending your initials to new VNET’s name e.g.
vnetName = "ansibledev-yourinitials". - Remember to avoid configuring any VNET peering or gateway devices on this new VNET to ensure it remains isolated from the rest of your environments.
- Here I’m also outputting the new VNET’s name to the Terraform console as we’ll need to reference this value within our Molecule
create.ymlfile later in Part 3 of this series.
variable "vnetName" {
  type        = string
  description = "virtual network name w/ technician's initials as a suffix"
  default     = "ansibledev-yourinitials"
}

variable "vnetAddressSpace" {
  type        = list
  description = "virtual network address space"
  default     = ["10.0.0.0/24"]
}

variable "vnetSubnetName" {
  type        = string
  description = "virtual network default subnet name"
  default     = "default"
}

variable "vnetSubnetAddress" {
  type        = string
  description = "virtual network default subnet"
  default     = "10.0.0.0/24"
}

resource "azurerm_virtual_network" "vnet1" {
  name                = var.vnetName
  address_space       = var.vnetAddressSpace
  location            = azurerm_resource_group.rg1.location
  resource_group_name = azurerm_resource_group.rg1.name
  subnet {
    name           = var.vnetSubnetName
    address_prefix = var.vnetSubnetAddress
    security_group = azurerm_network_security_group.subnet1nsg1.id
  }
}

output "azurerm_virtual_network_name" {
  value = azurerm_virtual_network.vnet1.name
}
3 - Network Security Group/Rule (NSG)
- To secure our new VNET we need a NSG with a single inbound rule to allow SSH from a single Public IP
source_address_prefixto the Private IP of the Ansible control host. - You’ll need to update
source_address_prefixwith your own Public IP https://www.whatismyip.com/ - I recommend appending your initials to new NSG’s name e.g.
nsgName = "ansibledev-yourinitials".
variable "nsgName" {
  type        = string
  description = "network security group name w/ technician's initials as a suffix"
  default     = "ansibledev-yourinitials"
}

variable "nsgRule1" {
  type        = map
  description = "network security group rule 1 - remember to modify 'source_address_prefix' with your own local Public IP address https://www.whatismyip.com/"
  default = {
    "name"                       = "SSH_allow"
    "description"                = "Allow inbound SSH from single Public IP to Ansible Host"
    "priority"                   = 100
    "direction"                  = "Inbound"
    "access"                     = "Allow"
    "protocol"                   = "Tcp"
    "source_port_range"          = "*"
    "destination_port_range"     = "22"
    "source_address_prefix"      = "0.0.0.0" #Update with your own public IP address https://www.whatismyip.com/
    "destination_address_prefix" = "10.0.0.5"
  }
}

resource "azurerm_network_security_group" "subnet1nsg1" {
  name                = var.nsgName
  location            = azurerm_resource_group.rg1.location
  resource_group_name = azurerm_resource_group.rg1.name
}

resource "azurerm_network_security_rule" "subnet1nsg1rule1" {
  name                        = var.nsgRule1["name"]
  description                 = var.nsgRule1["description"]
  priority                    = var.nsgRule1["priority"]
  direction                   = var.nsgRule1["direction"]
  access                      = var.nsgRule1["access"]
  protocol                    = var.nsgRule1["protocol"]
  source_port_range           = var.nsgRule1["source_port_range"]
  destination_port_range      = var.nsgRule1["destination_port_range"]
  source_address_prefix       = var.nsgRule1["source_address_prefix"]
  destination_address_prefix  = var.nsgRule1["destination_address_prefix"]
  resource_group_name         = azurerm_resource_group.rg1.name
  network_security_group_name = azurerm_network_security_group.subnet1nsg1.name
}
4 - Public IP and Network Interface(PIP/NIC)
- We need to create a new dynamic PIP and setup a static private IP on the NIC associated to our new Ansible control host.
- I recommend appending your initials to new PIP’s name e.g.
vmPublicIPDNS = "ansibledev-yourinitials". - A data lookup
data.azurerm_subnet.default.idwill grab the subnet id from our new VNET. - Here I’m also outputting the new PIP’s FQDN to the Terraform console as we’ll need to use this value to connect to the Ansible control host over SSH.
variable "vmPublicIPDNS" {
  type        = string
  description = "virtual machine public IP DNS name w/ technician's initials as a suffix"
  default     = "ansibledev-yourinitials"
}

data "azurerm_subnet" "default" {
  name                 = var.vnetSubnetName
  virtual_network_name = var.vnetName
  resource_group_name  = var.rgName
  depends_on = [
    azurerm_virtual_network.vnet1
  ]
}

variable "vmNICPrivateIP" {
  type        = string
  description = "virtual machine network interface private IP address"
  default     = "10.0.0.5"
}

resource "azurerm_public_ip" "pip1" {
  name                = var.vmName
  resource_group_name = azurerm_resource_group.rg1.name
  location            = azurerm_resource_group.rg1.location
  allocation_method   = "Dynamic"
  domain_name_label   = var.vmPublicIPDNS
}

resource "azurerm_network_interface" "nic1" {
  name                = var.vmName
  location            = azurerm_resource_group.rg1.location
  resource_group_name = azurerm_resource_group.rg1.name

  ip_configuration {
    name                          = "internal"
    subnet_id                     = data.azurerm_subnet.default.id
    private_ip_address_allocation = "Static"
    private_ip_address            = var.vmNICPrivateIP
    public_ip_address_id          = azurerm_public_ip.pip1.id
  }
}

output "pip1" {
  value = azurerm_public_ip.pip1.fqdn
}
5 - Transport Layer Security Key (TLS)
- This section generates a new TLS key for our use in connecting to the Ansible control host. Warning: This key is intended for throwaway development environments and will be stored unencrypted within your Terraform state file.
- I recommend excluding your Terraform state files used by this module from syncing to source control by adding the following to your .gitignore file:
*.tfstate
*.tfstate.*
- Here I’m also outputting the new private key’s PEM value to the Terraform console as later on we’ll need to save this locally in a .PEM file.
resource "tls_private_key" "vm1key" {
  algorithm = "RSA"
  rsa_bits  = "4096"
}

output "tls_private_key" {
  value = tls_private_key.vm1key.private_key_pem
}
6 - Virtual Machine (VM)
- This new VM is an
Ubuntu 18.04 LTSserver and will act as our Ansible control host in Azure. We’ll be connecting to this host over SSH from VSCode and using it to develop and test Ansible playbooks on Azure instances. - I recommend appending your initials to new VM’s name e.g.
vmName = "ansibledev-yourinitials". - The default VM size is also
Standard_B2s, a 2CPU/8GB low-cost option ideal for testing and development. Because we’re using the Molecule Azure driver to create/converge/destroy Azure instances there isn’t a requirement for a beefy Ansible control host. - Our new VM also references the OpenSSH public key value using
public_key = "tls_private_key.vm1key.public_key_openssh".
variable "vmName" {
  type        = string
  description = "virtual machine name w/ technician's initials as a suffix"
  default     = "ansibledev-yourinitials"
}

variable "vmSize" {
  type        = string
  description = "virtual machine size"
  default     = "Standard_B2s"
}

variable "vmAdminName" {
  type        = string
  description = "virtual machine admin name"
  default     = "ansibleadmin"
}

variable "vmSrcImageReference" {
  type        = map
  description = "virtual machine source image reference"
  default = {
    "publisher" = "Canonical"
    "offer"     = "UbuntuServer"
    "sku"       = "18.04-LTS"
    "version"   = "latest"
  }
}

resource "azurerm_linux_virtual_machine" "vm1" {
  name                = var.vmName
  resource_group_name = azurerm_resource_group.rg1.name
  location            = azurerm_resource_group.rg1.location
  size                = var.vmSize
  admin_username      = var.vmAdminName
  network_interface_ids = [
    azurerm_network_interface.nic1.id
  ]

  admin_ssh_key {
    username   = var.vmAdminName
    public_key = tls_private_key.vm1key.public_key_openssh
  }

  os_disk {
    caching              = "ReadWrite"
    storage_account_type = "Standard_LRS"
  }

  source_image_reference {
    publisher = var.vmSrcImageReference["publisher"]
    offer     = var.vmSrcImageReference["offer"]
    sku       = var.vmSrcImageReference["sku"]
    version   = var.vmSrcImageReference["version"]
  }
}
7 - Shutdown Schedule
- This section creates a daily VM shutdown schedule associated to the new Ansible control host.
- A daily shutdown ensures our costs are further minimized and we’re not going to pay for running costs when the VM is unused.
- Time of shutdown can be modified using
vmShutdownTime = "1900". - The timezone used for the shutdown can be modified using
vmShutdownTimeZone = "AUS Eastern Standard Time"
variable "vmShutdownTime" {
  type        = string
  description = "virtual machine daily shutdown time"
  default     = "1900"
}

variable "vmShutdownTimeZone" {
  type        = string
  description = "virtual machine daily shutdown time zone"
  default     = "AUS Eastern Standard Time"
}

resource "azurerm_dev_test_global_vm_shutdown_schedule" "vm1" {
  virtual_machine_id = azurerm_linux_virtual_machine.vm1.id
  location           = azurerm_resource_group.rg1.location
  enabled            = true

  daily_recurrence_time = var.vmShutdownTime
  timezone              = var.vmShutdownTimeZone

  notification_settings {
    enabled = false
  }
}
8 - VM Extension and Shell Script
- This section creates a
CustomScripttype VM extension associated to the new Ansible control host. - A shell script
ubuntu-setup-ansible.shstored in the repo is called with the source command. ./ubuntu-setup-ansible.sh.
resource "azurerm_virtual_machine_extension" "vm1extension" {
  name                 = var.vmName
  virtual_machine_id   = azurerm_linux_virtual_machine.vm1.id
  publisher            = "Microsoft.Azure.Extensions"
  type                 = "CustomScript"
  type_handler_version = "2.1"

  settings = <<SETTINGS
    {
        "fileUris":["https://raw.githubusercontent.com/globalbao/terraform-azurerm-ansible-linux-vm/master/scripts/ubuntu-setup-ansible.sh"]
    }
SETTINGS

  protected_settings = <<PROTECTED_SETTINGS
    {
        "commandToExecute": ". ./ubuntu-setup-ansible.sh"
    }
PROTECTED_SETTINGS
}
- The shell script below runs at the time of VM creation via Terraform and automates the installation of multiple software packages we need to develop Ansible playbooks with Molecule and Azure.
- Note: I’m a novice with shell scripting so if there’s any glaring issues please do reach out to me!
#!/bin/bash
# This file should be sourced

# Change directory to user home
cd /home/ansibleadmin

# Upgrade all packages that have available updates and remove old ones.
sudo apt-get update
sudo apt upgrade -y
sudo apt autoremove --assume-yes

# Install git
sudo apt install git --assume-yes

# Install azcli
curl -sL https://aka.ms/InstallAzureCLIDeb | sudo bash

# Install venv and pip
sudo apt install python3-venv --assume-yes
sudo apt install python3-pip --assume-yes

# Setup virtual environment and push home folder ownership
sudo python3 -m venv venv
sudo chown ansibleadmin /home/ansibleadmin --recursive

# Install ansible and azure modules into virtual environment
pip3 install -r https://raw.githubusercontent.com/globalbao/terraform-azurerm-ansible-linux-vm/master/scripts/requirements-ansible.txt
pip3 install -r https://raw.githubusercontent.com/globalbao/terraform-azurerm-ansible-linux-vm/master/scripts/requirements-azure.txt
Requirements-ansible.txtcontains packages/plugins related to Ansible/Molecule development.- If any new versions are released for the below requirements a new Ansible control host should be deployed using the updated
requirements-ansible.txtfile.
# requirements-ansible
wheel
requests==2.24.0
yamllint==1.25.0
pywinrm==0.4.1
junit-xml==1.9
ansible==2.10.2
ansible-lint==4.3.7
molecule==3.1.5
molecule-azure==0.5.0
Requirements-azure.txtcontains packages/plugins related to Azure development.- If any new versions are released for the below requirements a new Ansible control host should be deployed using the updated
requirements-azure.txtfile. - This list is very similar to the requirements file maintained in the ansible-collections/azure repo.
# requirements-azure
packaging
requests[security]
xmltodict
azure-cli-core==2.11.1
azure-cli-nspkg==3.0.2
azure-common==1.1.11
azure-mgmt-authorization==0.51.1
azure-mgmt-batch==5.0.1
azure-mgmt-cdn==3.0.0
azure-mgmt-compute==10.0.0
azure-mgmt-containerinstance==1.4.0
azure-mgmt-containerregistry==2.0.0
azure-mgmt-containerservice==9.1.0
azure-mgmt-dns==2.1.0
azure-mgmt-keyvault==1.1.0
azure-mgmt-marketplaceordering==0.1.0
azure-mgmt-monitor==0.5.2
azure-mgmt-network==10.2.0
azure-mgmt-nspkg==2.0.0
azure-mgmt-privatedns==0.1.0
azure-mgmt-redis==5.0.0
azure-mgmt-resource==10.2.0
azure-mgmt-rdbms==1.4.1
azure-mgmt-servicebus==0.5.3
azure-mgmt-sql==0.10.0
azure-mgmt-storage==11.1.0
azure-mgmt-trafficmanager==0.50.0
azure-mgmt-web==0.41.0
azure-nspkg==2.0.0
azure-storage==0.35.1
msrest==0.6.10
msrestazure==0.6.4
azure-keyvault==1.0.0a1
azure-graphrbac==0.61.1
azure-mgmt-cosmosdb==0.5.2
azure-mgmt-hdinsight==0.1.0
azure-mgmt-devtestlabs==3.0.0
azure-mgmt-loganalytics==0.2.0
azure-mgmt-automation==0.1.1
azure-mgmt-iothub==0.7.0
TF Module Example Usage (Windows users)
- 1 - Clone the repo
git clone https://github.com/globalbao/terraform-azurerm-ansible-linux-vm
cd terraform-azurerm-ansible-linux-vm
- 2 - Initialize the module
terraform init
- 3 - Set the value of
module.linux_vm.nsgRule1.source_address_prefixto your own Public IP address. - 4 - Authenticate to Azure via AzCLI
az login
az account set -s subscriptionID
- 5 - Run Terraform to create the module resources.
terraform apply -auto-approve
Note: the TF apply can take ~15mins due to the shell script tasks via VM Extension.
At this stage your Ansible control host has been deployed to Azure and is ready for your SSH connection using VSCode.
Remember to take note of the following outputs.
module.linux_vm.pip1- the PIP DNS name of your Ansible control hostmodule.linux_vm.tls_private_key- the SSH private key needed to connect to your Ansible control hostmodule.linux_vm.azurerm_resource_group_name- the RG of your Ansible dev environment (you should use this value in the create.yml files for your Molecule scenarios)module.linux_vm.azurerm_virtual_network_name- the VNET name of the Ansible dev environment (you should use this value in the create.yml files for your Molecule scenarios)
Setup/test the SSH authentication.
- 6 - Create a new local file for the private key e.g.
C:\Local\vm1key.pem - 7 - Modify the
C:\Local\vm1key.pemfile’s permissions so only your Windows account has read/write access. - 8 - Remove all other inherited permissions (e.g. System/Administrator Group) from
C:\Local\vm1key.pem. - 9 - Copy & paste the Terraform output of
tls_private_keyinto this new file. - 10 - Open
VSCode > Remote Explorer > SSH Targets > Add New - 11 - Copy & paste the Terraform output of
pip1as the SSH target. - 12 - Select the SSH config file to update e.g.
C:\Users\Username\.ssh\config - 13 - Add the following to SSH config file:
User ansibleadminandIdentityFile C:/Local/vm1key.pem - 14 - Verify the SSH connection works via
VSCode > Remote Explorer > SSH Target > Connect to Host
Note: The above steps 6-14 work on my Win10 machine but if you encounter issues I recommend reviewing the official doco here: https://code.visualstudio.com/docs/remote/ssh
- 15 - Work on your Ansible development (see Part 3).
- 16 - Remove the environment.
terraform destroy -auto-approve
Closing Remarks
In this blog we looked at deploying an Ansible control host into Azure using the TF module terraform-azurerm-ansible-linux-vm with examples of the following resource types:
- azurerm_resource_group
- azurerm_virtual_network
- azurerm_network_security_group
- azurerm_network_security_rule
- azurerm_public_ip
- azurerm_network_interface
- hashicorp_tls_private_key
- azurerm_linux_virtual_machine
- azurerm_dev_test_global_vm_shutdown_schedule
- azurerm_virtual_machine_extension
We also examined the shell script used to automate installation of the many software packages needed on the Ansible control host. And we stepped through an example of running the module code and connecting to the host over SSH from VSCode.
In Part 3 of this series we’ll dive into using the Molecule testing framework and the Molecule-Azure driver. This is the final piece of the puzzle to rapidly test Ansible playbook tasks within our development environment.
Cheers,
Jesse

Leave a comment